Select the deployment type.
|
|
|
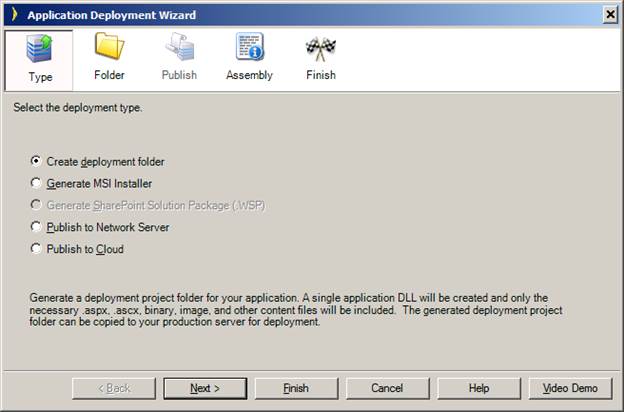
Select the deployment type. |
A variety of deployment options are available via the Deployment Wizard.
|
Option |
Description |
|
Create deployment folder |
Creates a deployment project folder for your application. A single application DLL will be created and only the necessary .aspx, .ascx, binary, image, and other content files will be included. Prior to the .NET Framework 4.5, the folder "deploy\Release", in the deployment project folder can be copied to your production server for deployment. Starting with the .NET Framework 4.5, deployment is handled by Publishing A Deployment Package, which contains the deployment folder. Note: Requires Microsoft Visual Studio. |
|
Generate MSI installer |
Creates a Windows Installer (.msi) file for your application. Only the necessary .aspx, .ascx, binary, image, and other content files will be included. This option also creates a deployment folder as specified in the previous option. This is by far the easiest and best way to deploy your application. We highly recommend it! Starting with .NET Framework 4.5, Microsoft has changed deployment methods and eliminated the MSI installer in favor of publishing a deployment package. MSI installers are self-contained “executables” that are stand-alone installation programs. They do not require you to copy any files or deploy any stored procedures; the MSI installer, when run, performs all file installation. The MSI installer created by Iron Speed Designer bundles everything into an MSI file that can be installed anywhere. The MSI installer contains all necessary application files except your database. Note: Requires Microsoft Visual Studio. See MSI Installer Deployment for additional details. |
|
Generate SharePoint Solution Package (WSP) |
Creates a deployment project folder for your application. A single application WSP is created which can be deployed to your SharePoint server. A solution package is a CAB file with a .wsp file name extension that contains all the files that must be deployed on the front-end Web server and a set of XML-based installation instructions. Windows SharePoint Services provides a rich infrastructure that simplifies deployment of solution packages in a Web farm environment. See SharePoint Solution Package (WSP) Deployment for additional details. |
|
Publish to network server |
Creates a deployment project folder for your application. Your application is then copied to a specified location on your network. |
|
Publish to cloud |
Creates a deployment project folder for your application. Your application is then copied via FTP (file transfer protocol) to a specified server location. |
Deploying Applications with the Deployment Wizard
Step 1: Select the Deployment Type
Step 2: Select the Deployment Project Folder
Step 3: Select the Server Path (Network Deployment)
Step 3: Select the Server Path (Cloud Deployment)
Step 4: Enter Application Assembly Information
Step 5: Publish Your Application
Publishing A Deployment Package
SharePoint Solution Package (WSP) Deployment