


|
Starting with the .NET Framework 4.5 and Visual Studio 2012, deployment is handled by Visual Studio using the Publish option , which creates the deployment folder. This is not the same kind of deployment folder produced by earlier Web Deployment projects. Once the Visual Studio deployment folder is produced, simply copy it to a folder on your production server and import the deployment package to IIS.
See the documentation from Microsoft for Web Deployment Overview for Visual Studio and ASP.NET
Step 1: Copy the deployment package from the development machine to the server.
Copy or FTP the deployment package to a location on the server.
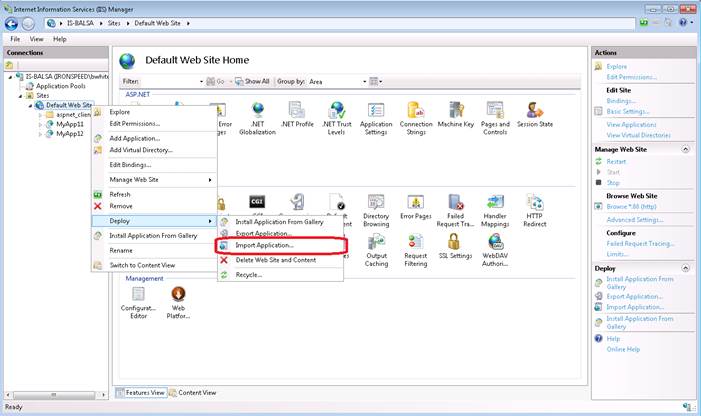
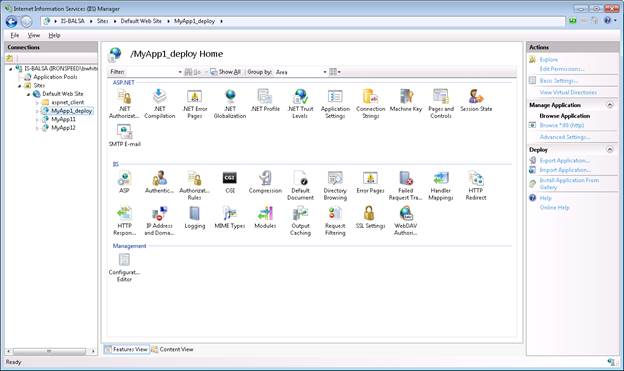
Step 2: Open IIS Manager on the server and open the ‘Import Application’.menu.
In IIS Manager select the deployment package from the location where it has been copied.
See the deocumentation from Microsoft for Import a Package through IIS Manager and Manually Installing Web Packages.
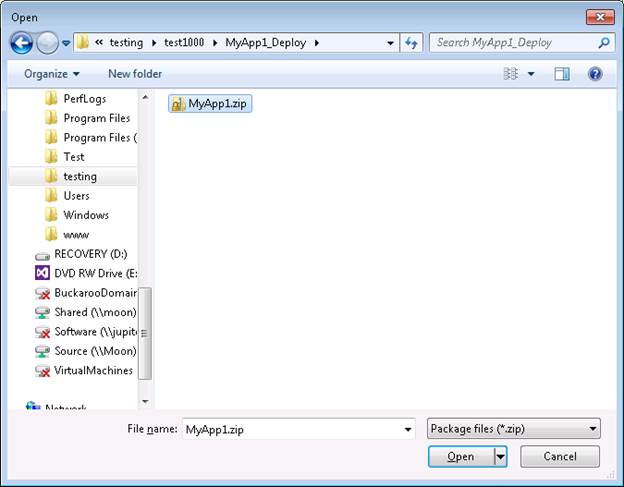
Step 3: Select the deployment package.
In the Import Application Package Wizard, on the Select the Package page, browse to the location of your web deployment package, and then click Open or Next.
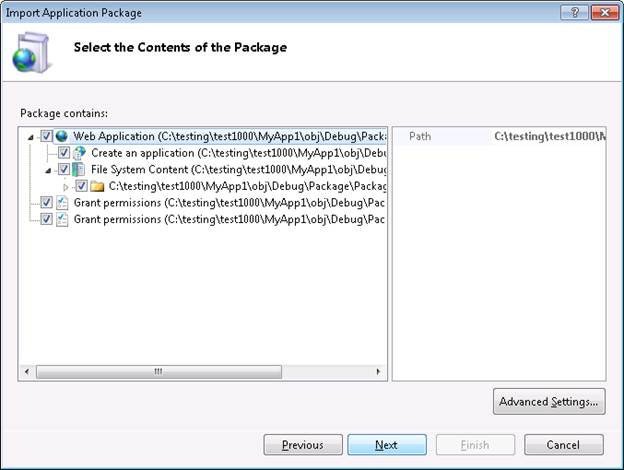
Step 4: Select the content of the deployment package to be imported.
On the Select the Contents of the Package page, clear any content that you don't require, and then click Next..
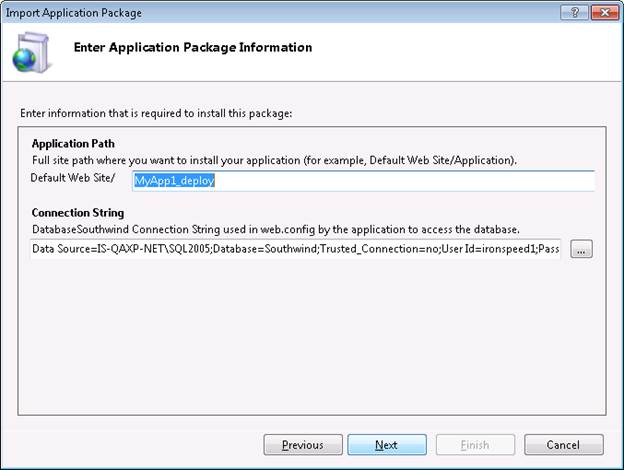
Step 5: Enter information required to install the package.
On the Enter Application Package Information page, provide the requested information. You should refer to and Manually Installing Web Packages for more detail.
Step 6: IIS Manager shows the status of the installation.
When IIS has finished installing the package, click Finish. At this point, you've successfully published your web application to IIS.

Step 7: The application is now deployed.
The application is now included in the sites in IIS.
See
Manually Installing Web Packages
Import a Package through IIS Manager