This example shows how to deploy an application built with Iron Speed Designer to GoDaddy.com, a hosting service provider. While Iron Speed does not endorse GoDaddy.com or any other hosting provider, it does provide a useful example of how to deploy an application.
The basic steps for deploying an application to any hosting server includes uploading your application to the server through a FTP client, connecting the application to your database and setting the uploaded application folder as a Microsoft IIS root directory (the application start-up point).
The procedure below helps you upload you’re your web application folder from local your system to the GoDaddy server.
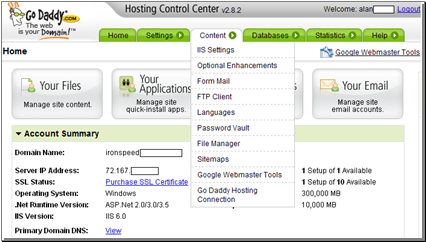
Step 1: Login to your GoDaddy account, click on Hosting, and select Manage Account to go to the control panel.
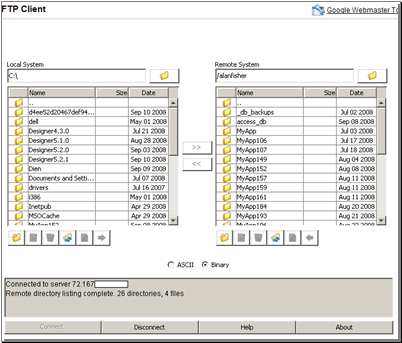
Step 2: Click “Content” and select “FTP Client”.
Step 3: Upload your web application folder by selecting the application folder on your Local System and clicking “>>” to upload to the root folder.
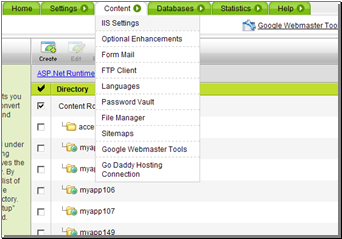
Step 4: Click “Content” and select “IIS Settings”.
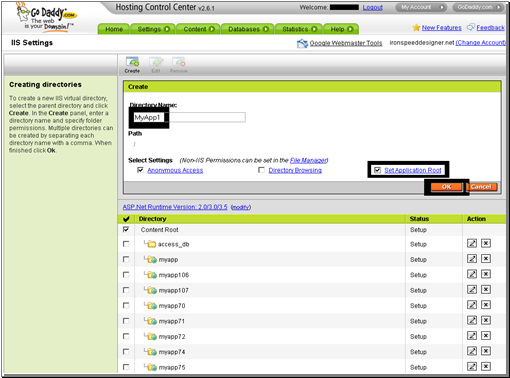
Step 5: Now create a new folder as root in Microsoft IIS. Be sure to give the folder the same name as the uploaded folder. For example, if you upload MyApp1 on the GoDaddy server, create a folder in IIS as MyApp1 and set it as root.
To publish database on hosting server you need to first install Microsoft SQL Server Database Publishing Wizard. The Database Publishing Wizard deploys SQL Server 2005 databases, both schema and data, into a shared hosting environment on either Microsoft SQL Server 2000 or 2005.
For more details and to download:
http://www.codeplex.com/sqlhost/Wiki/View.aspx?title=Database%20Publishing%20Wizard
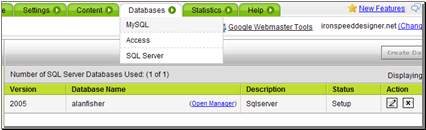
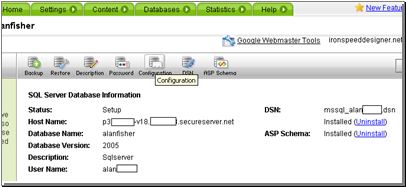
Step 1: Click “Databases” and select “SQL Server”.
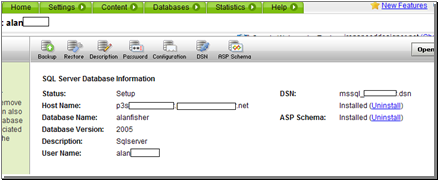
Step 2: Select “configuration” to refer to the name of the database and hostname for the steps below.
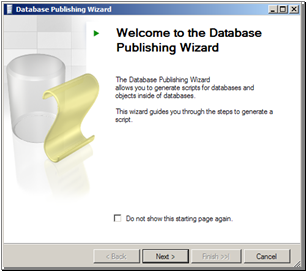
Step 3: Open database publishing wizard.
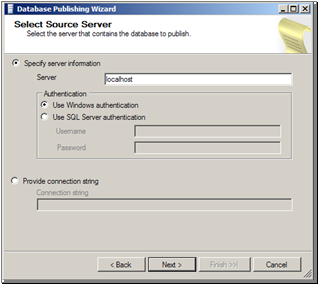
Step 4: Click “Next >” and select the server name from which you want to publish the database.
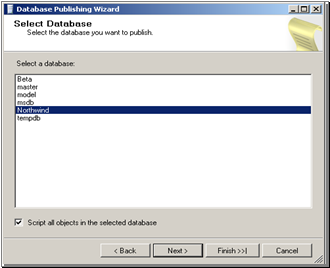
Step 5: Select the database you want to publish on the GoDaddy hosting server and click “Next >”
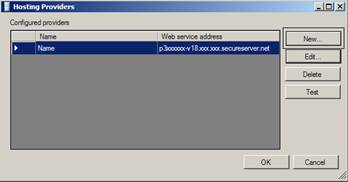
Step 6: Select the provider and target database and click the “More.,.” button.

Step 7: Click “New...” to enter a new server name and its related information.
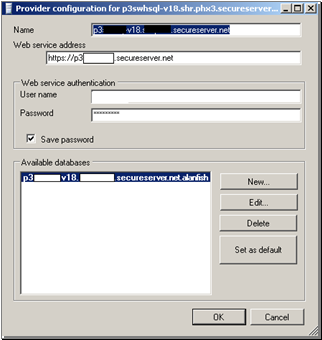
Step 8: Enter the server name, webservice address, username and password.
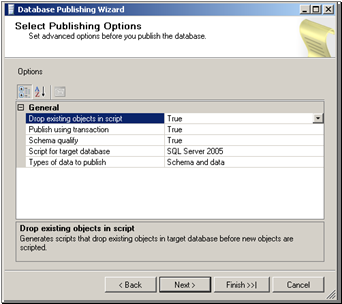
Step 9: Select the options applicable and click the “Next >” button.
Step 10: Click “Finish” to publish the database information on the server.
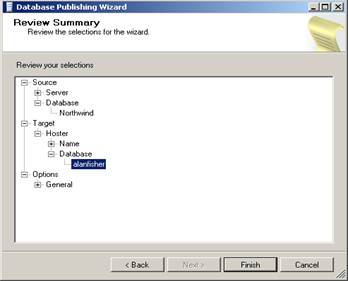
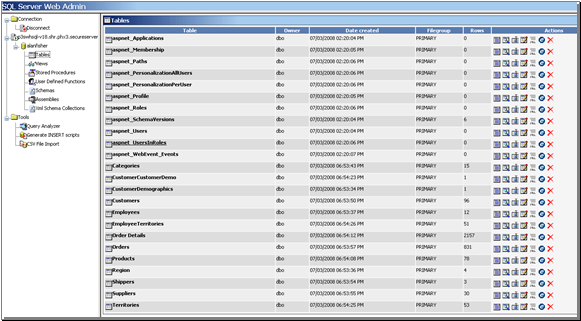
Step 11: Now, click “open manager” to check whether the database is published properly.
All the table information can be seen below.
Step 12: Replace the following connection string in your application’s Web.config file in the uploaded folder on GoDaddy.

Step 1: Click “Databases” and select “Access”.
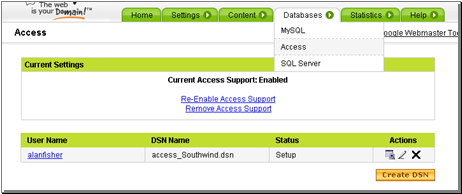
Step 2: Click “Create DSN” and enter your database’s filename, username, and password.
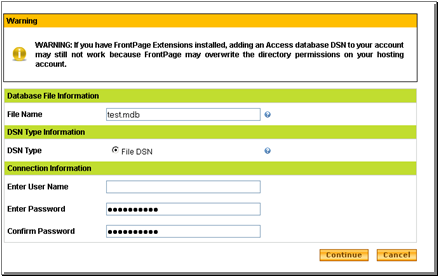
Step 3: Click “Continue” and then click “Create DSN”.

Step 4: Modify the connection string in your application’s Web.config file.
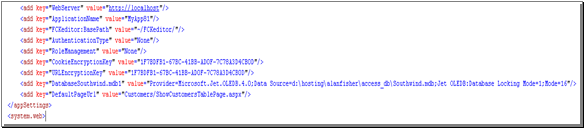
The connection string will be different for each application, of course. Here is an example of the connection string you will need to change:
<add key="DatabaseSouthWind.mdb1"
value="Provider=Microsoft.Jet.OLEDB.4.0;Data Source=d:\hosting\alanfisher\access_db\Southwind.mdb;Jet OLEDB:Database Locking Mode=1;Mode=16">
Update the “Data Source” to point to your production database.
Deploying a MySSQL database does not require any external tool because GoDaddy uses phpMyAdmin to deploy your database on their server.
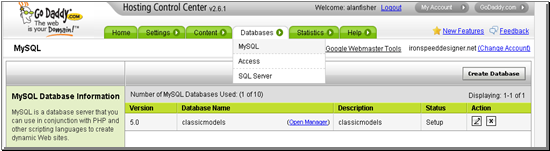
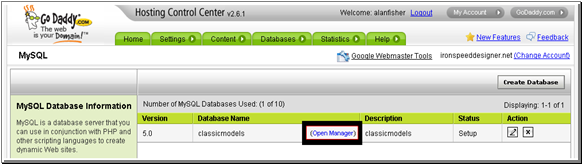
Step 1: Click “Databases” and select “MySQL”.
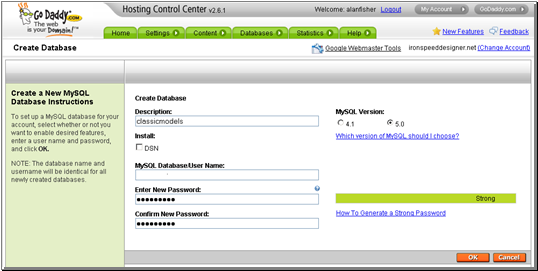
Step 2: Enter the name of the database you want to create, your user name and password. Select “5.0” as the MySQL version.
Step 3: Click “Open Manager” to open the MySQL Editor.
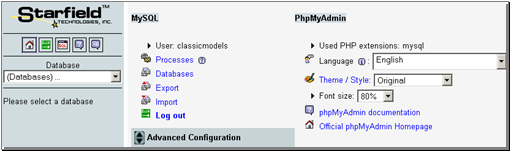
Step 4: Enter the username and password you created in step 2 to login.

Step 5: Select the database name from the “Databases” dropdown list.
Step 6: Execute all required *.sql files in the query editor.
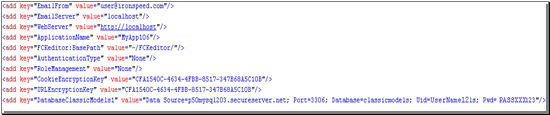
Step 7: Modify the connection string in your application’s Web.config file.
Deploying to Application Hosting Service Providers
Example: Deploying to CrystalTech
Example: Deploying to DiscountASP.NET
Example: Deploying to GoDaddy.com
Disabling Event Viewer Logging
Individual Hosting Provider Notes
Setting the .NET Trust Level for your Application