This example describes how to deploy an Iron Speed Designer application to 1&1, a hosting service provider. The basic steps for deploying an application to any hosting server includes uploading your application to the server through a FTP client, connecting the application to your database and setting the uploaded application folder as a Microsoft IIS root directory (the application start-up point).
Step 1: Login to your account using the 1&1 username and password provided.
Step 2: Upload your application to 1&1 using FTP. There are various methods that you can use to upload your website files onto your web space. You will need several pieces of information:
Your Hostname
Your FTP User name
Your FTP Password
Your FTP Hostname is your domain name. For example, if your domain name is http://www.1and1faqs.com, your FTP Hostname will be 1and1faqs.com. Your FTP User name and FTP password can be found in your 1&1 Control Panel under Web Space & Access à FTP Account.
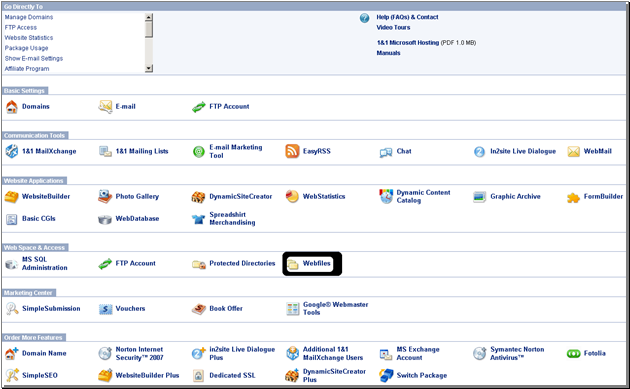
Step 3: Once you have uploaded your web application through the FTP client, click on “Webfiles” as shown below. The Webfiles settings are used to set up your application folder as the root folder on Microsoft IIS.
Step 4: Click the “Launch” button to go to Microsoft IIS. You will be prompted with a “Please wait” message.
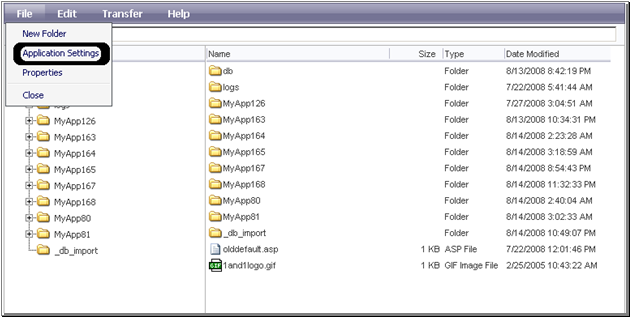
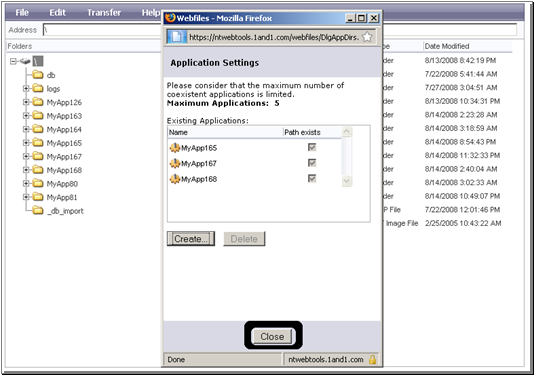
Step 5: Select File, Application Settings to set your web application folder as the root in Microsoft IIS.
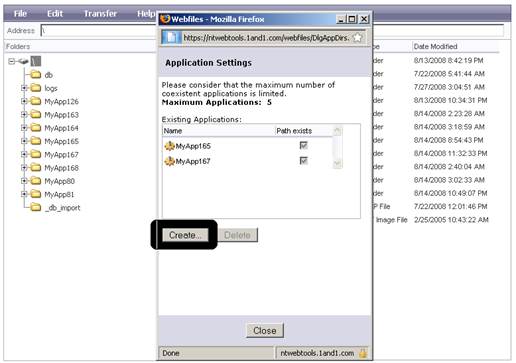
Step 6: Click “Create...” to select a web application folder to set as the root directory in Microsoft IIS.
Step 7: Select the folder you want to set as the starting point.
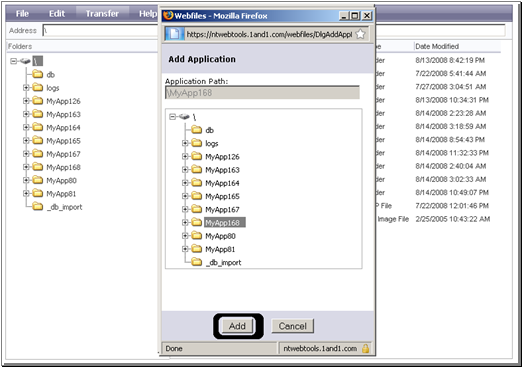
Step 8: Finally, click “Close” once the selected web application folder is visible.
After setting the application folder as a root, the next step is to import your application’s database.
For 1&1, the basic procedure is to backup your database and then import it to 1&1. The backup file should reside in db_import folder on the 1&1 server and should have a .bak file extension, e.g.: Northwind.bak.
Step 1: Upload the backup file to 1&1 using the FTP client.
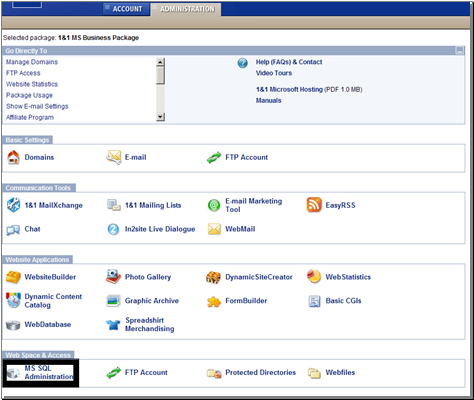
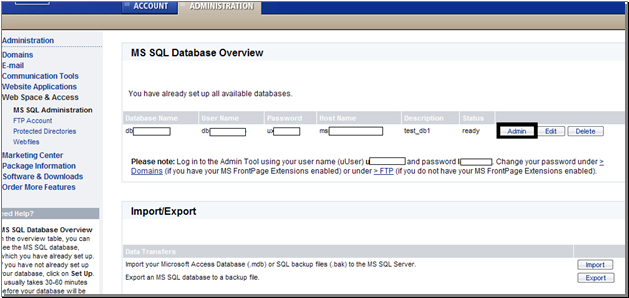
Step 2: Select Microsoft SQL Administration in the 1&1 control panel. This will take you to the screen for importing the file.
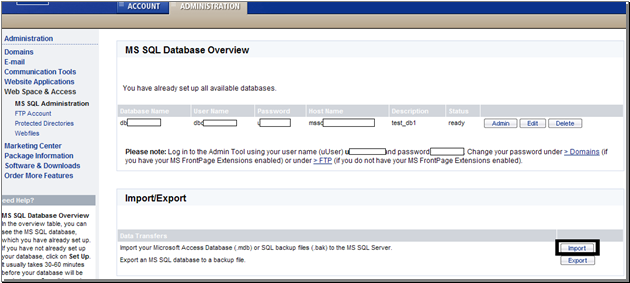
Step 3: Click “Import” to import the backup file uploaded into the db_import folder.
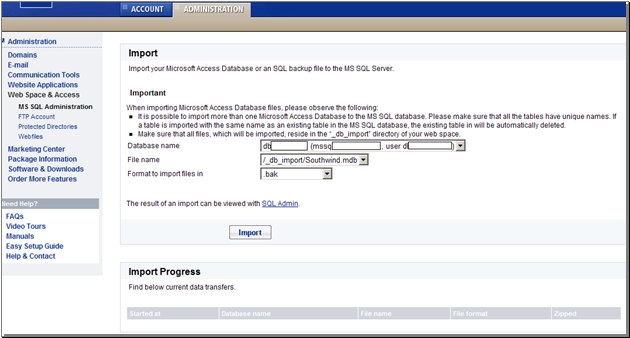
Step 4: Select the file from the dropdown list to import and click the “Import” button. Importing the file may take some time.
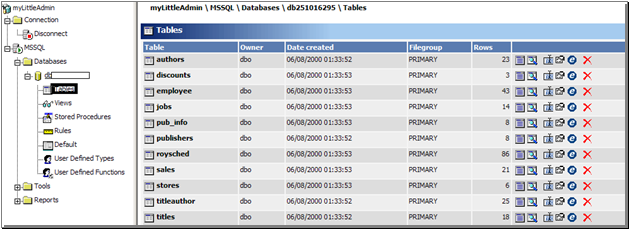
Step 5: After importing is complete, click the “Admin” button to go to the Microsoft SQL Server administrative panel where the imported data can be verified.
Step 6: The table imported from the backup file can be seen in the below figure. You can select the database and then click “Tables”.
Deploying to Application Hosting Service Providers
Example: Deploying to CrystalTech
Example: Deploying to DiscountASP.NET
Example: Deploying to GoDaddy.com
Disabling Event Viewer Logging
Individual Hosting Provider Notes
Setting the .NET Trust Level for your Application