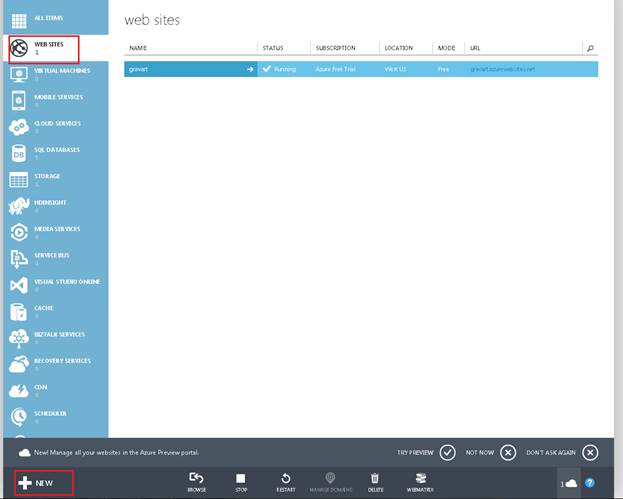
1>Login to Azure account. Then select Web Sites menu option and click on New
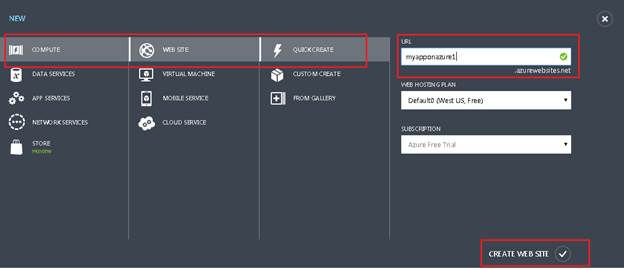
2> Inside New tab, select QuickCreate option and provide the URL for your application, then click on Create website
3> Navigate back to Web Sites menu and here you will see your site is created. Now select it to view configuration and more

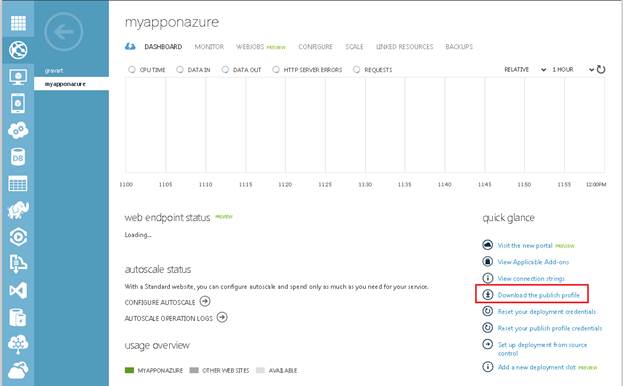
4> Here click on Download the publish profile and save it on your machine. Once downloaded open this profile in any text editor
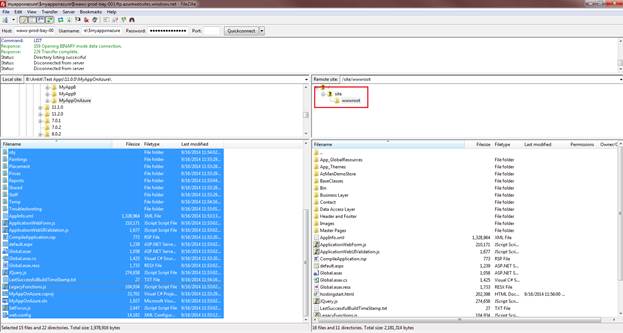
5>When you open this file, you will notice that there are two publish profiles, one talks about MSDeploy and other one about FTP. If you decide to do MSDeploy, then I will suggest you to look into Microsoft help. On the other hand for FTP, it is very simple procedure, which I will mentioned here. Please note that when I did this, I did not encounter any error. Inside the FTP profile, you will find the server name (publishUrl), username and password (userPWD) already provided. So using any FTP client, connect to the server and copy your application at the wwwroot level. Also notice that right after userPWD, it specifies your application URL.

I used FileZilla to connect to the server and copied my sample application.
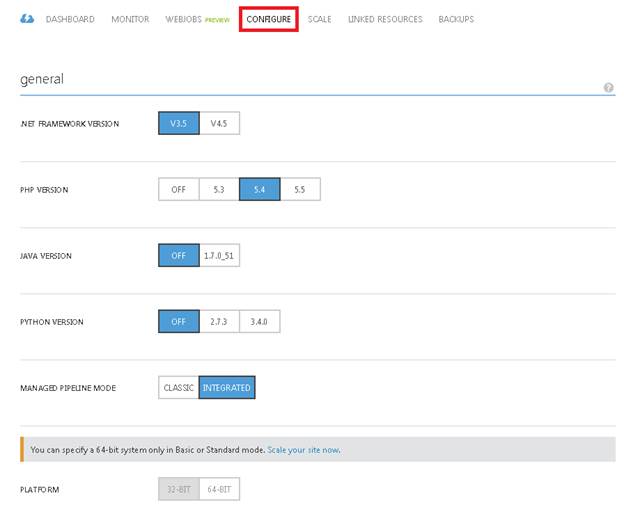
6>Once you are done copying, last step would be to make sure the configuration is correct in the website by going in configure step. Settings that will need to be specified for Iron Speed Generated applications are .NET Framework version, Managed Pipeline Mode and Platform.
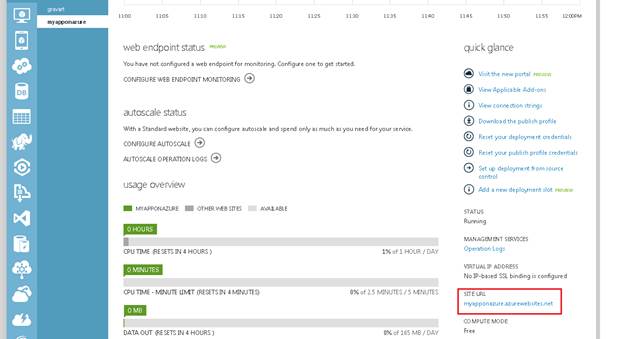
7> One can navigate to application URL which was provided in the publish profile in step 5 or you can find it on the server by navigating to application dashboard and scroll down to see it or at website page