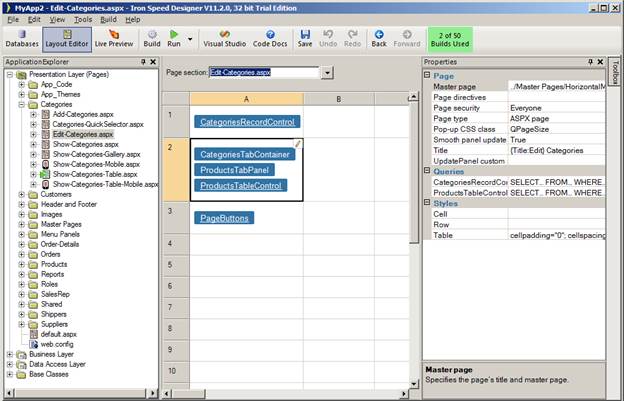
You may have record panels containing a large number of fields, perhaps 50 or more, and displaying all these fields on the screen at one time may overwhelm application users. In these cases, you can use tab panels to group subsets of your fields into individual tabs for consolidated, better organized display.
Step 1: Navigate to the page level where you wish to place the tabs, such as the ‘fields’ section of a record or table panel control. You may optionally remove the existing set of fields.
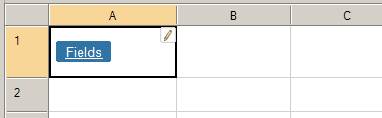
Step 2: Drag several blank panels from the Toolbox onto your page, one for each group of fields you wish to create. In this example, we use the ‘Blank Panel without Header’ panel.
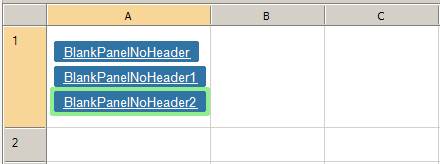
Step 3: Navigate (drill into) to the first blank panel and drag the appropriate fields and labels from the Toolbox into the blank panel. Repeat this for each blank panel (tab group).
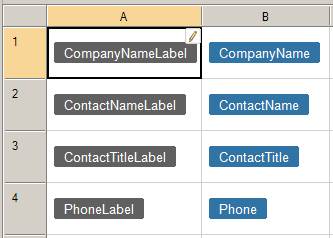
Step 4: Navigate back to the page level showing the newly added blank panels. Then apply tab groups (Right-click, Insert, Tabs). This creates a tab for each group of fields.
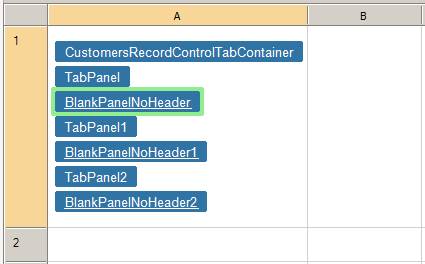
Step 5: In the Property Sheet, rename the tab panels with meaningful names.