Creating a virtual directory
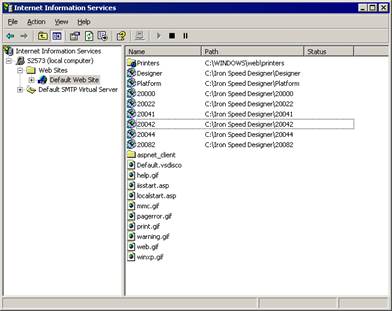
From the Start menu, click Start, Settings, Control Panel, Administrative Tools, Internet Information Services.
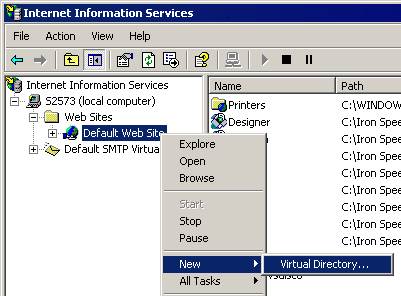
In Internet Information Services, click New, Virtual Directory...
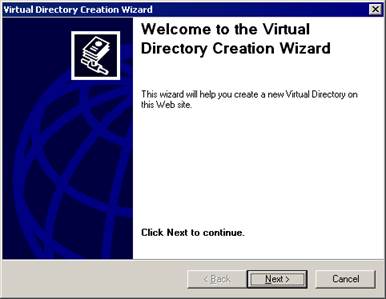
Use the Virtual Directory Creation Wizard to create a virtual directory for your application.
Click Next> to proceed.
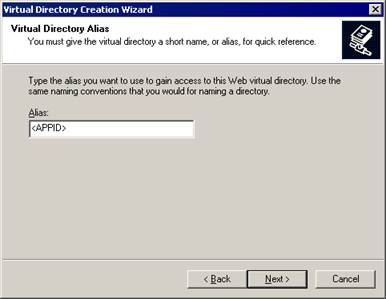
Enter your application’s Alias. This is typically the Application Name selected by Iron Speed Designer when creating your application.
Note: If you pick an alias different than the Application Name, you will need to change your application’s Web.config file to reflect the virtual directory Alias.
Click Next>.
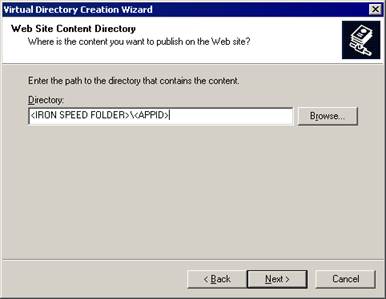
Enter the directory containing your application.
Click Next>.
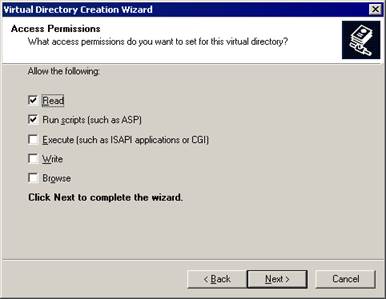
Make sure your application has permission to Read files and Run Scripts. This is essential for Windows 2003 operation.
Click Next>.
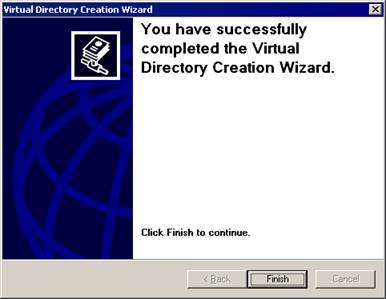
Click Finish.
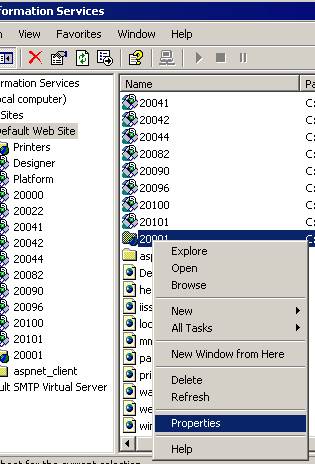
Check that your application’s virtual directory has been properly created.
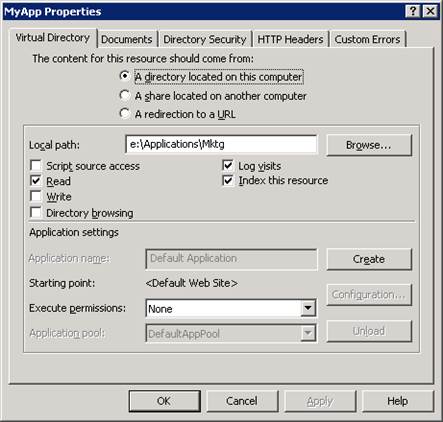
Select Properties to display your application’s Properties dialog.
Check that the Application Name field contains your application’s name. If so, click OK. You have successfully created a virtual directory for your application.
If not, proceed to the next step.
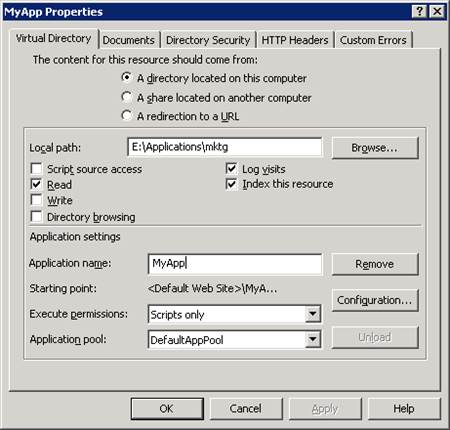
Click Create and create an application.
Change the Execute Permissions drop down box to Scripts Only. This is essential for Windows 2003 operation.
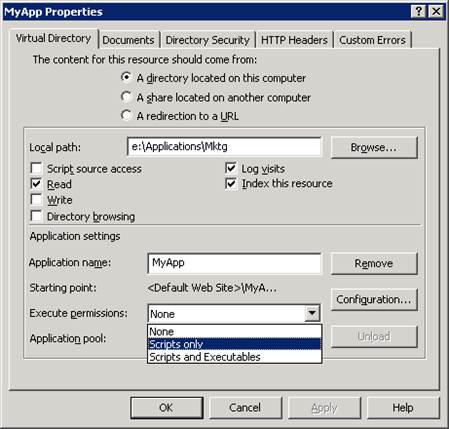
Press OK. You should be able to run your application now.