Select one or more languages for your application.
|
|
|
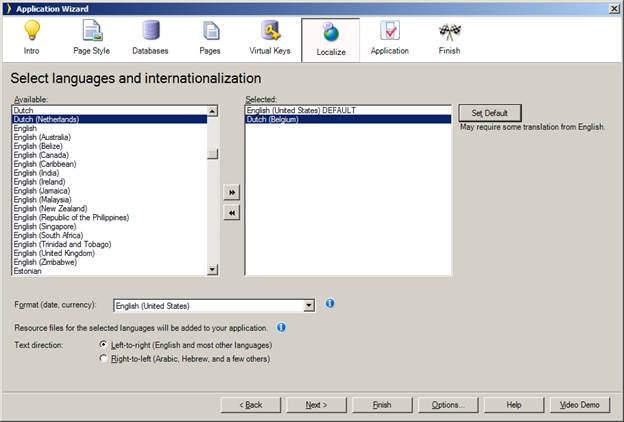
Select one or more languages for your application. |
Iron Speed Designer creates multi-lingual and multi-cultural applications. If multiple languages are selected, your application will be created with multiple language translation files (RESX resource files) included in your application. The selected languages also appear in the Upper Tool Bar.
At application run-time, the language selected on the Upper Tool Bar determines the culture-specific lookup of resource data, such as text strings. The selected language indicates the RESX file to load at application run-time containing user interface strings. The Format value determines everything else, such as date formatting and number formatting.
The text strings themselves are located in a RESX resource file created by Iron Speed Designer for your application. Complete details on how to modify the resource text strings is in “Error and Validation Message Strings” section of the “Localizing (Internationalizing) Your Application”.
Iron Speed provides standard English language string resource files. As a courtesy to developers, resource files for other languages from third-party providers may be included with Iron Speed Designer. While Iron Speed doesn’t provide support for these additional language files, we hope you’ll find them useful if your particular language is among those provided.
What is an Iron Speed Designer Application?
Creating Your First Application
Step 2: Select a Web Page Style
Step 3: Connect to a Database Server
Step 4: Select Pages to Generate
Step 5: Select Virtual Primary Keys and Virtual Foreign Keys
Step 6: Select Language and Localization Settings
Step 8: Build Your Application